The “FibTriangle”

Overview
In this tutorial, we will use a RPL program to compute the first 400 Fibonacci numbers, and make their bits visible to see an interesting feature. This program is identical to FibTri from the demo, which uses JavaScript instead of RPL.
This explorations follows in the steps of the folks at Wolfram Research, who used Mathematica™ to accomplish the same. See http://mathworld.wolfram.com/FibonacciNumber.html.

(c) 2011 Naive Design. All rights reserved.
Displaying 400 Fibonacci Numbers

As simple as they are (or exactly because of that), Fibonacci numbers have very interesting properties and are found everywhere: from the “golden ratio” (the ratio of successive pairs approaches it), to the placement angles of plant stalks. See the link above for a nice overview.
ND1 has a function, called fib, (or FIB in Classic mode) which returns the nth Fibonacci number.
Enter “8” (w/o quotes)
Type “fib”
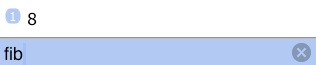
Tap Enter
The 8th Fibonacci number is 21. (The sum of 13 and 8; fib(7) and fib(6), respectively.)
In preparation of what’s to come, let’s convert this number into binary format.
Go to the Binary menu and tap bin (or enter “toBin”; it’s your choice)

So, the 8th Fibonacci number, 21, could be interpreted and made visible as: “pixel on, off, on, off, on”
Tap ⇓ (DROP)
Fibonacci numbers become large quickly:
Enter “50,fib” [ you could also type “fib(50” ]
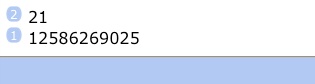
(tap bin to see its binary form, if you’re curious)
From fib(77) on, the numbers are larger than 15 digits and are thus no longer exactly representable on most calculators.
ND1 switches to bignums (its arbitrary precision integer data type) for input numbers greater than 77.
Enter “fib(100”
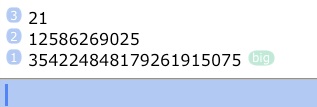
The big “badge” indicates that you’re looking at a bignum.
Lastly, enter “400,fib” (we’re alternating entry methods, for no other reason than practice)
and scroll sideways to see how large this number is.
The 400th Fibonacci number has, in decimal representation, 84 digits.
Tap bin and scroll sideways to see the resulting binary number. That’s a lot of potential pixels. (274 to be exact.)
Now, the object of our exploration shall be to automatically produce the first 400 Fibonacci numbers, convert them into visible bits, stack them up, and view the resulting picture.
Let’s clear the stack and switch over into the BigInt folder.
Enter “400”
Your screen should look like this:
(Ignore all the functions in this menu, incl. the “install” button. BigNums are already installed. The folder represents a complete example MorphEngine extension, and has example programs, meant to be dissected by interested programmers.)
Tap fibtriangle
A second later, you should see this:
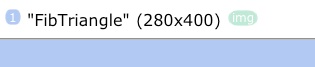
The fibtriangle program produced an image for us, 280 pixels wide and 400 high.
Tap Eval to display the image, and double-tap the graphics display to see it fullscreen.
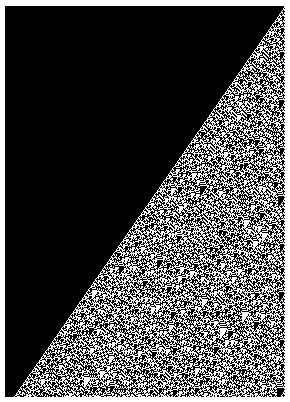
You’re looking at the “on” and “off” of bits of the first 400 hundred Fibonacci numbers.
Starting at the top with number 1 (one lone white pixel for “on”), all the way to the bottom with 274 pixels representing fib(400).
The “interesting feature” are the upside-down black and white triangular islands. (Which may, or may not, excite you.)
You just displayed the image by “evaluating” it. You could just as well have chosen →screen (→LCD) from the graph (PLOT) menu, just like when you display a screenshot. (In fact, screenshots are img objects.)
End graphics display by tapping the ✔← key.

The heart of fibtriangle looks like this
1 n START
DUP ROT +
DUP →STR 3 0 SUB width "0" pad
s SWAP + =s
NEXT
If you’re curious about what happens “under the hood”, continue on with Dissecting FibTriangle.
If you’d like another non-programmer example of a similar task, but doing the manual steps of constructing the image from compute results, see Visualizing 987!.